
Adhesives for furniture production
Wood Assembly Adhesive Solutions
For furniture, cabinets & interior woodwork.
Choose a wood assembly adhesive around the surfaces you join and the work that follows. Explore water-based wood glue and solvent-based contact adhesive routes, investigate defects and prepare a useful production trial.
Written by Fokis Editorial Team
Last updated: November 2, 2026
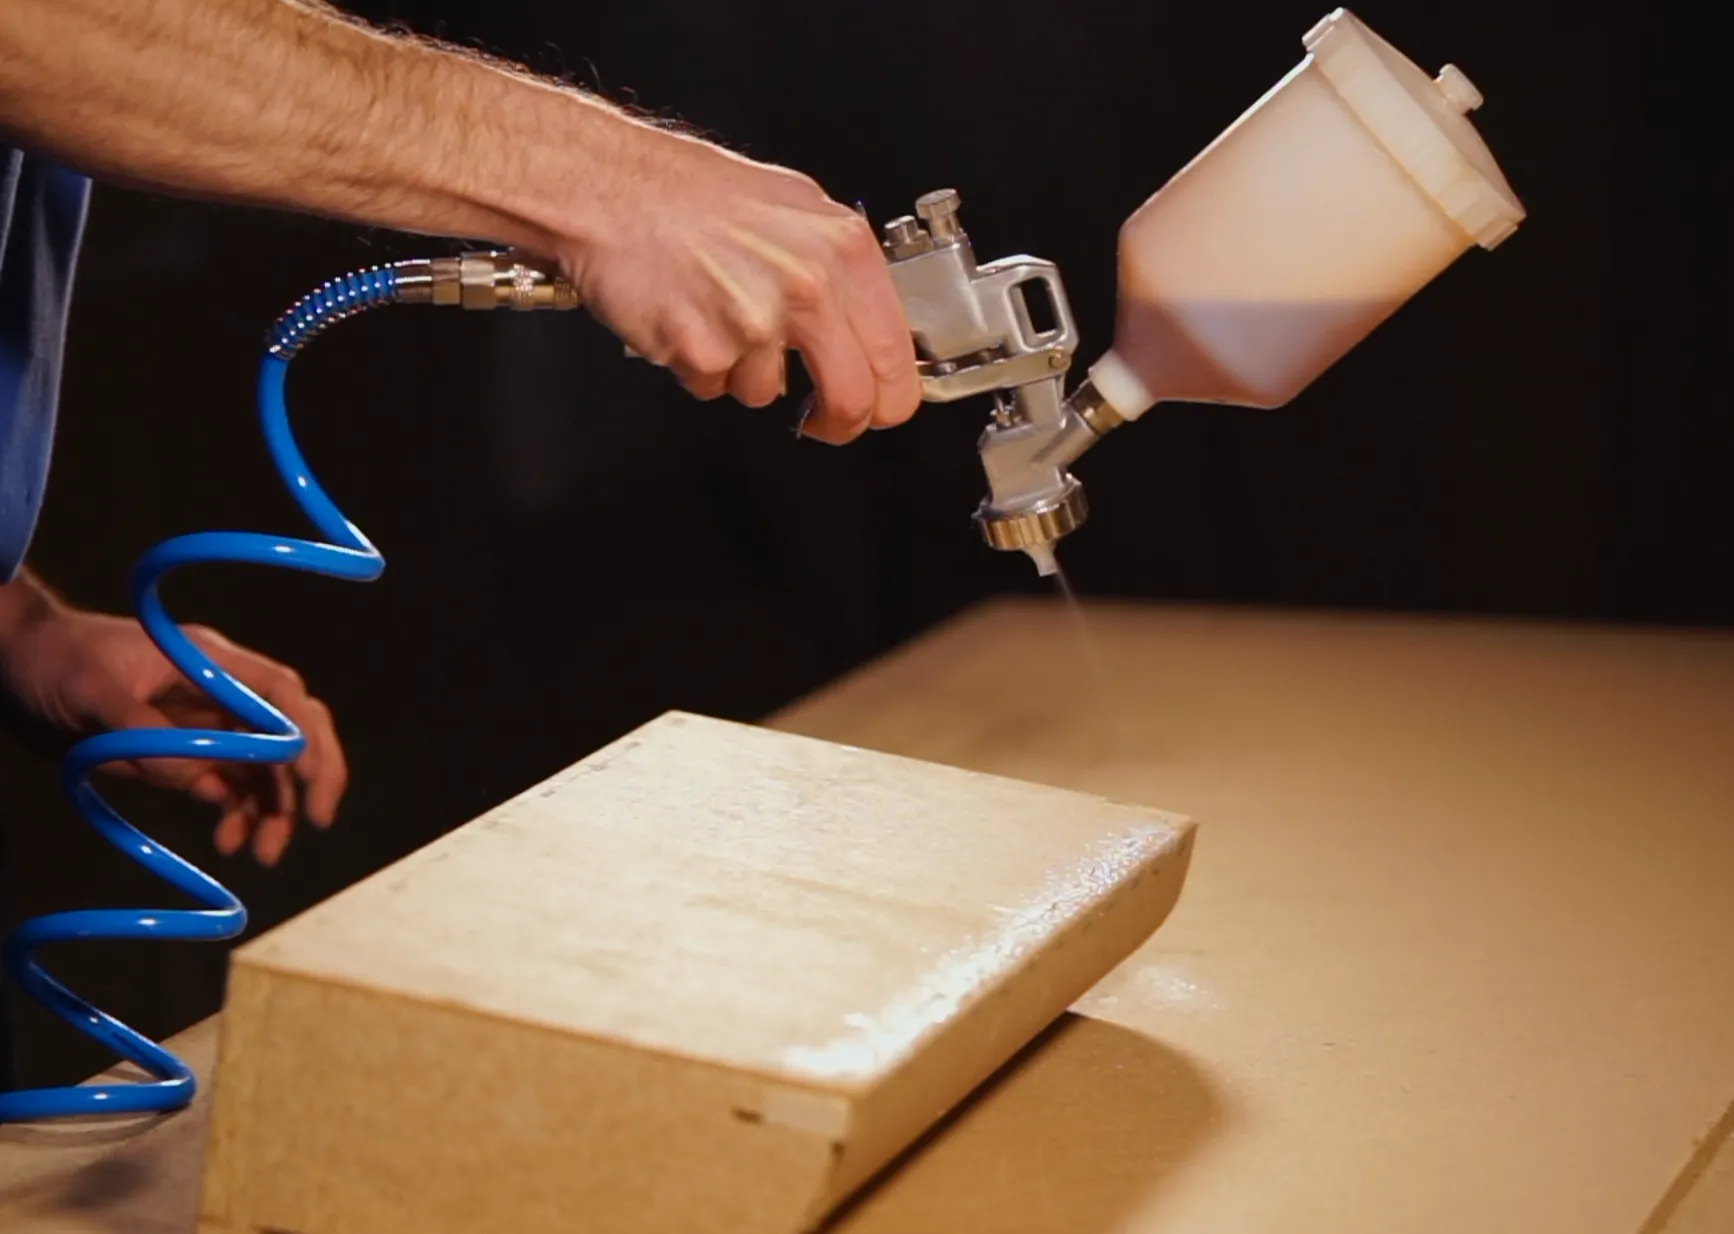
Fokis can customize woodworking adhesives for your production line.
From the furniture to the interface
What are you actually bonding?
The visible face may be woodgrain. The bonding face may be raw wood, a resin-rich board surface, paper backing or a plastic coating. Start with the two surfaces that will touch the adhesive.
01 / WOOD TO WOOD
Joints & component assembly
Solid wood parts, dowels and panel components used in cabinets, tables and furniture frames. Check joint fit, end grain and access for clamping.
02 / PANEL TO SURFACE LAYER
Veneer & panel lamination
Natural veneer, plywood, MDF or particleboard. Veneer backing, panel balance and the complete stain or coating system affect the decision.
03 / COVERING TO WOODWORK
Decorative & mixed-material bonds
PVC coverings, PU synthetic leather and selected trim components on wood-based assemblies. Identify the backing, coating and mating board.
A material name is only the first question.
Use this map to narrow the trial. The rows describe application categories, not a verified compatibility list for either product.
| Material pair | Clarify before choosing | Useful starting point |
|---|---|---|
| Solid wood ↔ solid wood | Species, joint geometry, fit, moisture content and service load. | Evaluate 8021 for the specified assembly. Test the actual joint, not only flat coupons. |
| Raw wood ↔ MDF / plywood / particleboard | Raw face or coated face; edge absorption; board condition and pressing access. | Discuss 8021 for wood-based assembly. Keep coated surfaces separate in the trial. |
| Natural veneer ↔ wood-based panel | Raw or backed veneer, thickness, balanced construction, cold or hot press, final finish. | Confirm a suitable lamination grade and process before assigning 8021 or 618. |
| HPL decorative laminate ↔ panel | Laminate backing, board porosity, flatness, press or roller method and heat exposure. | Review the adhesive route with Fokis. The HPL label alone does not confirm 618 compatibility. |
| PVC / PU synthetic leather ↔ wood-based component | Actual backing; rigid or plasticized PVC; finish; curvature and edge stress. | Discuss 618, then validate both surfaces, appearance and conditioned edge adhesion. |
A melamine-coated board face behaves differently from its raw core. Do not assume a standard wood glue will bond the coating because the panel underneath is wood-based.
Troubleshoot the bond
What changed, and when did the defect appear?
Keep both separated surfaces. A defect after unclamping, sanding or storage points to different checks. Appearance helps locate the problem; it does not establish the cause by itself.
Save an unbonded piece from the same material batch alongside the failed assembly.
01
The joint opens after unclamping.
Check the dry fit, glue coverage and actual time under pressure. Review wood, adhesive and workshop temperatures; a cold component can behave differently from a warm room.
Keep: joint dimensions, batch IDs, moisture readings and the elapsed time from coating to clamp release.
02
The glue line sinks after sanding.
Water from an assembly adhesive can swell wood near the joint. Sanding before moisture has rebalanced may leave a depression as the wood dries.
Compare: matched pieces sanded at different conditioning stages. Inspect again after the full finishing cycle.
03
A covering bubbles or lifts later.
For contact bonds, review coating thickness, carrier removal and pressure across the entire surface. Humid conditions can also cause condensation during solvent evaporation.
Record: when lifting begins, the coating sequence, workshop conditions and photos of the opened bond.
04
The bond holds, but the finish looks wrong.
Glue penetration, residue or uneven moisture can reveal itself during staining or coating. Test with the actual veneer, color system and finishing schedule.
Keep: an unfinished control and the finished sample. Record the defect location and whether the panel also warped.
Two routes to evaluate
Water-based wood glue.
Solvent-based contact adhesive.
Fokis 8021 and 618 serve different starting needs. Compare the process each application requires, then confirm the selected product on your materials. Carrier type alone does not determine durability.
| Production decision | PVAc wood assembly route | Solvent-based contact-bonding route |
|---|---|---|
| When to bring parts together | Typically assemble while the adhesive is wet, within the specified assembly window. | Typically coat both faces and allow the specified flash-off before joining. Confirm the grade-specific procedure. |
| Positioning & pressure | Use the available assembly time to align the joint; maintain the required clamping or pressing conditions. | Plan alignment before contact. Apply uniform pressure across the bond, including corners and edges. |
| Workshop sensitivity | Moisture, low material temperature and drying conditions affect strength development. | Coating thickness, ventilation, temperature and condensation can affect flash-off and bond formation. |
| The next operation | Validate clamp release separately from sanding, machining and finishing. | Validate early handling, trimming and later coating separately from initial grab. |
| Handling & changeover | Follow the product SDS, storage limits and equipment-cleaning procedure. | Plan solvent extraction, ignition control, suitable storage and cleaning around the current SDS. |
Water-based series
Fokis 8021
PVAc wood adhesive
WOOD & COMPONENT ASSEMBLY

A water-based PVAc adhesive for furniture manufacturing, wood-based panel bonding and general wood component assembly.
Why discuss this product
You need a wood glue for a defined assembly, with a process that can provide suitable fit, pressure and conditioning.
What the trial should settle
Joint strength, assembly time, clamp release and the condition of the finished piece after machining and coating.
Bring to your enquiry
Wood species, panel construction, joint details, moisture readings, production conditions and any required water or heat tests.
Solvent-based series
Fokis 618
Modified neoprene contact adhesive
DECORATIVE & MIXED-MATERIAL BONDS
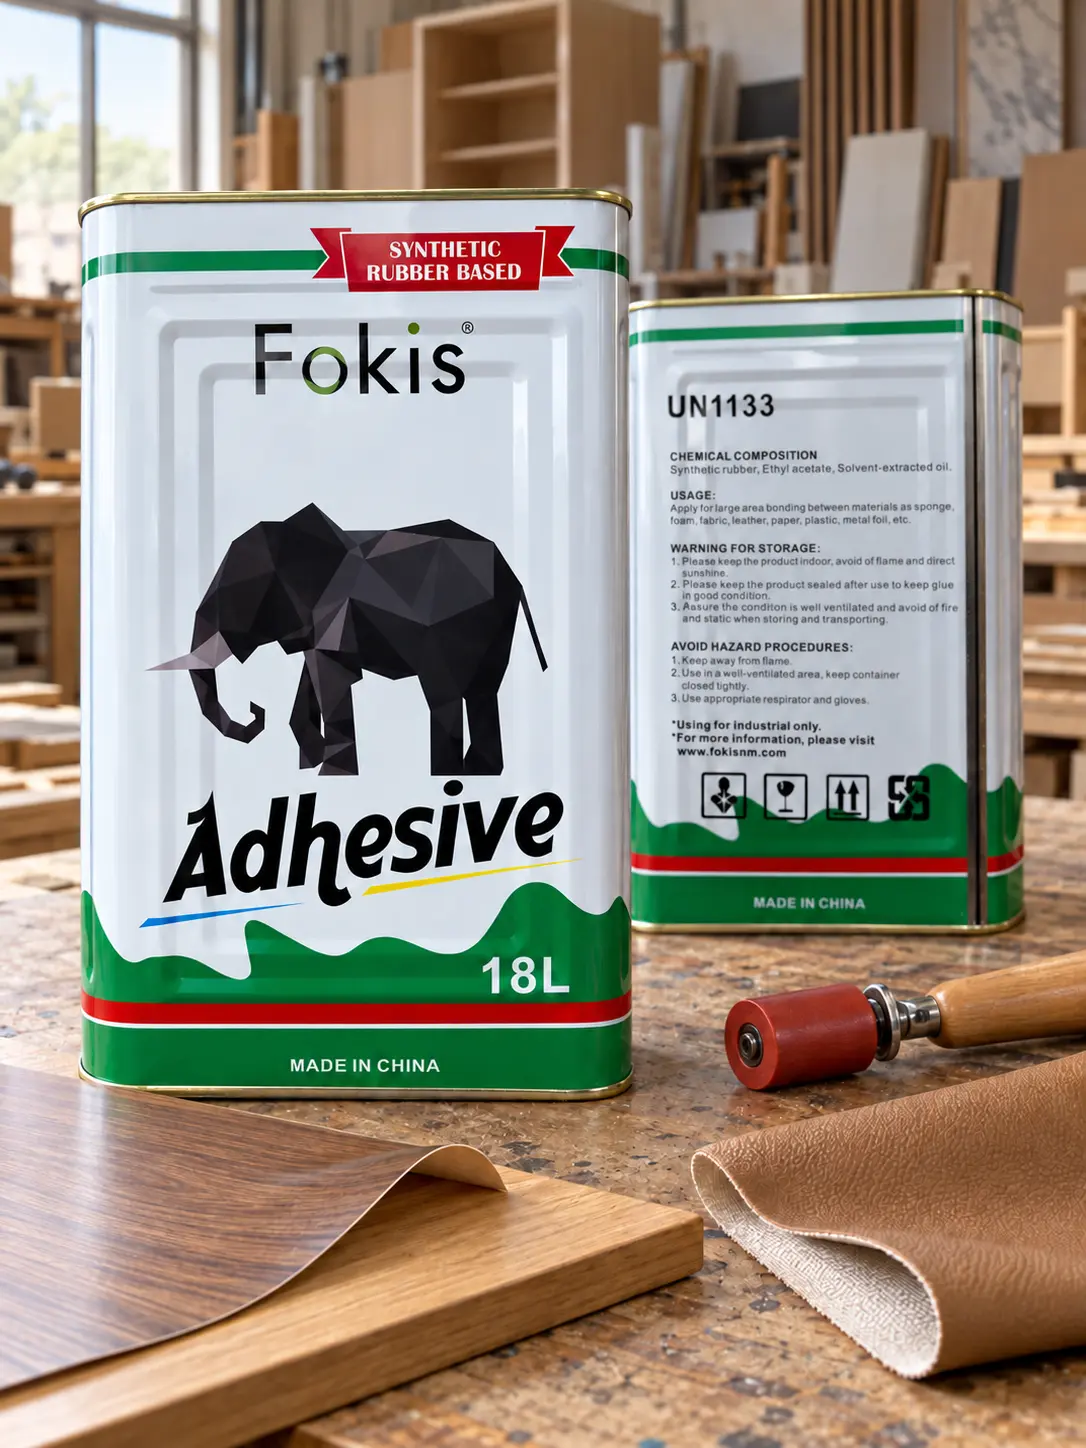
A solvent-based graft adhesive with strong initial grab, positioned for applications involving PVC, PU synthetic leather and selected rubber components.
Why discuss this product
Your woodworking or interior fit-out process includes a decorative covering or mixed-material bond suited to a contact-adhesive route.
What the trial should settle
Compatibility with the exact covering and wood-based substrate, flash-off, pressure coverage, finished appearance and edge stability after conditioning.
Bring to your enquiry
Both surfaces, backing details, any plasticizer information, current application method and the required heat or aging exposure.
For D3/D4, exterior, sustained-load or structural requirements, request the applicable product-specific evidence. The product families above do not establish those ratings or approvals.
Beyond the first bond
Three decisions before the piece leaves the factory.
“It holds” is a useful first observation. A production trial also needs to show when the piece can move, when it can be finished and how it performs after conditioning.
CHECKPOINT 01 / RELEASE
Ready to unclamp or handle?
Observe alignment, spring-back, joint opening and edge lift at the actual release point.
Agree a release condition:
No unacceptable movement or opening under the intended handling step. Record elapsed time and conditions.
CHECKPOINT 02 / PROCESS
Ready to machine, sand or finish?
Run the complete downstream sequence on representative assemblies. Check glue-line shape, staining, surface marks and panel flatness.
Keep a later inspection:
A surface that looks flat immediately after sanding may change as moisture redistributes.
CHECKPOINT 03 / CONDITION
Ready for the agreed end-use conditions?
Test after the specified conditioning and relevant heat, moisture or load exposure. Record the measured result and failure location.
Define acceptance first:
The test method, exposure and pass criteria should match the furniture construction and customer’s requirement.
* Set separate release criteria for each stage. A clamp time, a touch-dry film or a strong initial grab is not a universal sanding time or durability rating.
Make the trial useful
Compare a finished piece, with a recorded process.
Keep your current adhesive as the reference. Test each candidate with its own correct application method on matched materials.
01
Define the assembly and the target.
Identify both bonding faces, joint or panel design, end-use conditions and the problem you want to improve.
02
Record what actually happened.
Capture spread, coating-to-assembly time, pressing and workshop conditions. Include a realistic line stop or difficult shift condition.
03
Inspect through the full process.
Compare release, machining, finishing and conditioned samples. Keep the load or strength result alongside the failure mode.
Confirm sample quantities and receiving arrangements with Fokis before shipping.
Send a useful trial pack.
✓
Both unbonded materials
Including the actual backing, coated face or cut edge.
✓
An intact piece and a failed piece
Keep both fracture surfaces and note when the defect appeared.
✓
Material and adhesive batch details
Species, board grade, moisture readings and any surface preparation.
✓
Process and workshop conditions
Application method, pressure, timing, temperature and relative humidity.
✓
The finished-product requirement
Coating system, exposure, test method and agreed acceptance criteria.
Compare cost per accepted piece.
Include adhesive use, labour, press or drying time, cleaning, scrap and rework. For area-based quotes, distinguish single-face coating area from completed bonded area.
Before your first trial
Wood assembly adhesive questions.
Practical answers for production, technical and sourcing teams.
Should I start with Fokis 8021 or Fokis 618?
Start with 8021 when discussing wood-to-wood and wood component assembly using a PVAc route. Discuss 618 for decorative or mixed-material contact-bonding applications. For veneer, HPL or coated boards, confirm the exact facing, substrate and process before selecting either product.
Can contact adhesive replace wood glue in furniture joints?
Do not make that substitution based on initial grab. Furniture joints need performance appropriate to their geometry, service loads and environment. Fokis 618 is not presented here as a replacement for a qualified joint adhesive or a structural timber adhesive.
Can 8021 bond HPL or melamine-coated MDF?
That cannot be confirmed from the word “MDF” or “laminate.” The adhesive touches the coating or backing, which may behave differently from raw wood. Send the specific materials and press method so the adhesive route can be reviewed and tested.
How soon can we sand or coat a glued panel?
Use a validated schedule for the selected adhesive, materials and conditions. Clamp release and readiness for sanding are different decisions. With water-based assemblies, inspect the glue line after moisture has rebalanced and after the complete finishing cycle.
Does a humid workshop make solvent-based glue the better bonding choice?
Humidity alone does not decide the adhesive route. It can slow water removal, while evaporation from solvent-based contact adhesives can cool the surface and create condensation. Evaluate the selected process under the actual workshop conditions and follow its SDS for safe handling.
Does water-based glue make the finished furniture low-emission?
Carrier type alone does not establish finished-product emissions. Consider the board, adhesive, coating and complete assembly, and obtain the evidence required by the customer or destination market. An SDS is not a finished-furniture emissions test.
Start with the bond.
Bring one production challenge.
Prepare a short brief for a discussion about 8021, 618 or another adhesive route suited to your assembly.